Writing7 min read
Auto Route: Navigation Systems in Modular Architecture with Flutter
In this article, we will explore how Auto Route can be leveraged in a modular architecture, making navigation more efficient and maintainable.

Hello Everyone!
Navigation is a crucial aspect of any front-end framework, enabling seamless transitions between screens and supporting various layouts, such as tabs and flows, within the same scene. In iOS, navigation is managed using SwiftUI’s NavigationLink and Coordinators, while Android (or KMP) utilizes solutions like Decompose and other frameworks.
In Flutter, managing navigation in a scalable and modular way can be challenging, especially when working with large applications. That’s where Auto Route comes in — a powerful routing library that simplifies navigation, offering both simple and complex navigation stack management with automatic route generation. In this article, we will explore how Auto Route can be leveraged in a modular architecture, making navigation more efficient and maintainable.
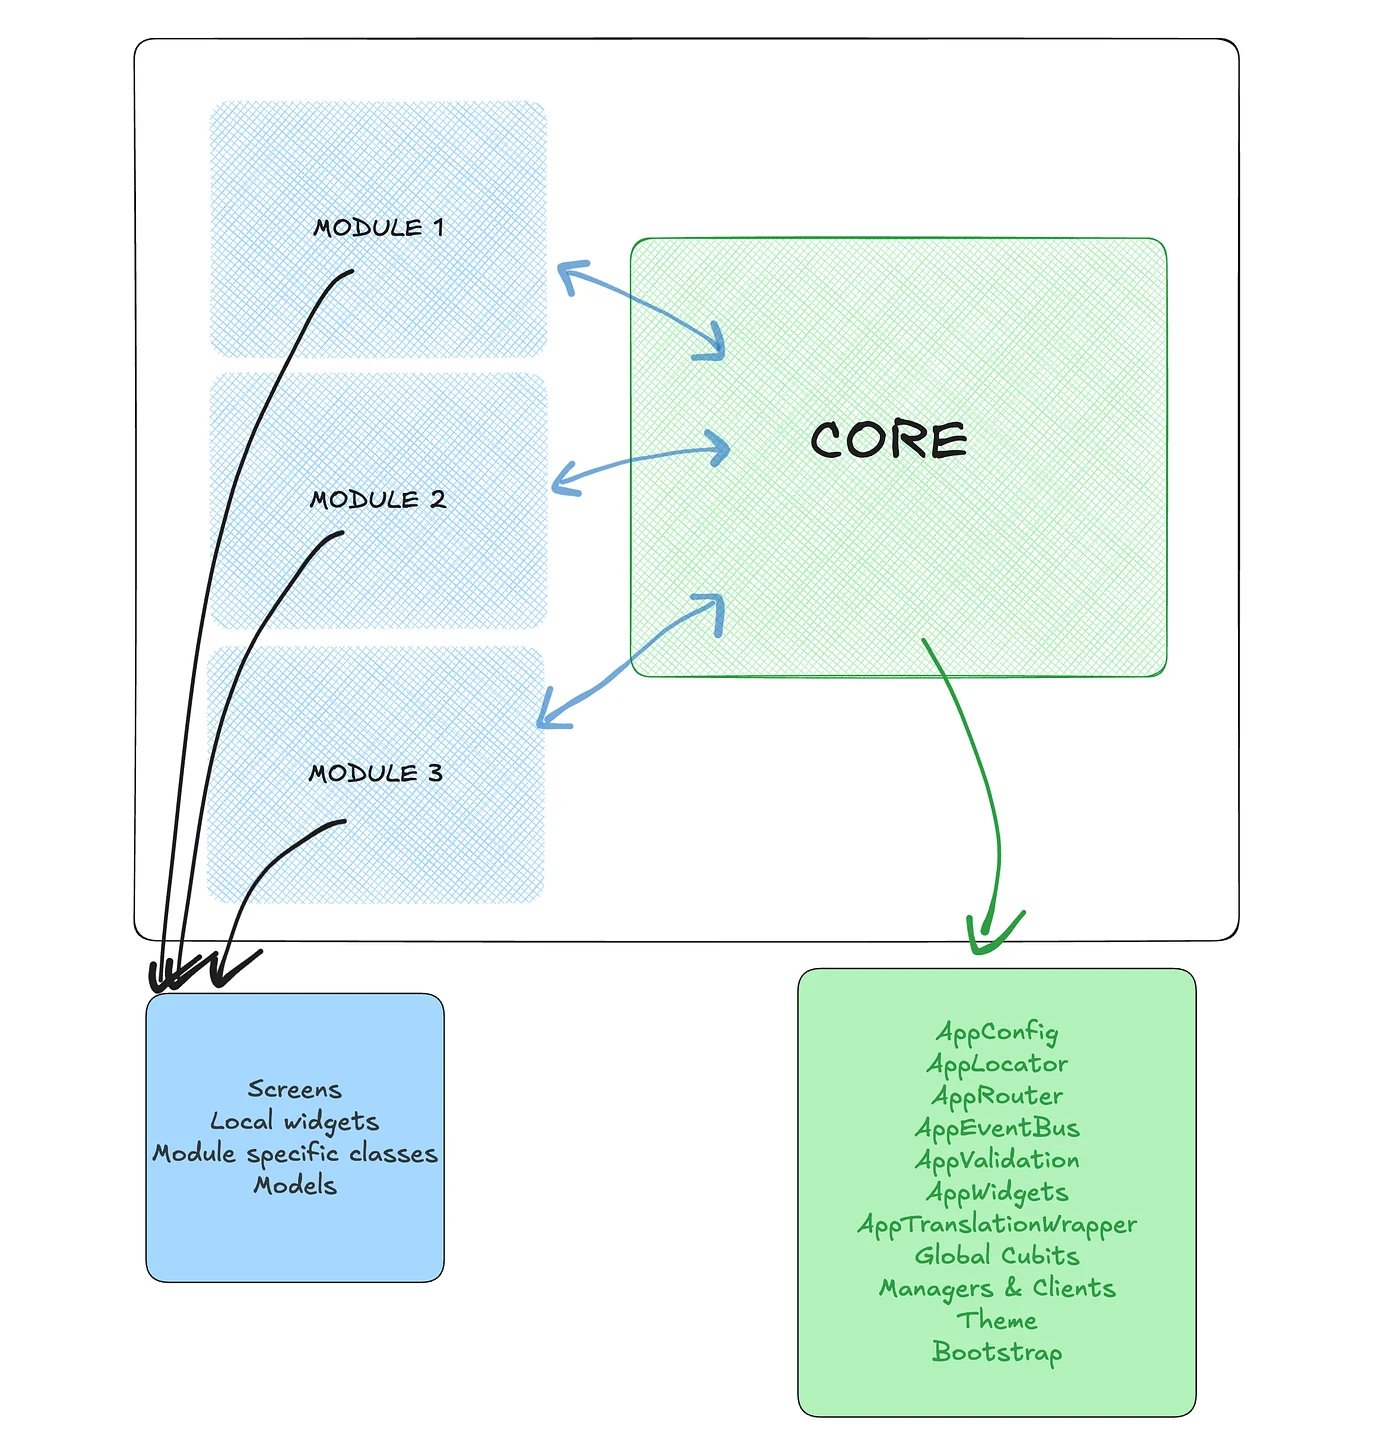
Modular Navigation Example in Super App Architecture (Trendyol, etc.)
Large-scale applications like Trendyol have a modular architecture. To better illustrate how to manage this structure using Auto Route, we can take Trendyol as an example.
Modular Structure
CoreModule (The core infrastructure of the application)
- Theme, language management
- General services (API calls, error management)
- AppRouter etc.
ShoppingModule (Trendyol)
- Home page,
- Product listing,
- Product details,
- Cart management,
- Payment processing, etc.
FoodModule (Trendyol Yemek)
- Home page,
- Restaurant listing,
- Order tracking, etc.
When the user opens the Trendyol application, the ShoppingModule (Trendyol Shopping) is loaded first. Here, the user can browse products, shop, and add items to the cart.
If the user wants to order food through Trendyol Go (FoodModule — Trendyol Food), a different module is opened. This module displays the list of restaurants and manages the ordering process.
Both modules operate independently, but thanks to the core module, general settings such as user session, theme, and language are preserved.
Additionally, some buttons in the interface allow direct navigation to different pages within a module. This means that the initial route screen of the module does not always need to be opened; the user can directly access a specific page.
You can find more details about the package installation in the documentation.
Installation
In each module, we load the following dependencies.
dependencies:
 auto_route: [latest_version]

dev_dependencies:
 auto_route_generator: [latest_version]
 build_runner:
Setup and Usage
- Create a router class and annotate it with
@AutoRouterConfigthen extend “RootStackRouter” from The auto_route package - Override the routes getter and start adding your routes.
AppRouter
// modules/core/lib/navigation/app_router.dart

import 'package:auto_route/auto_route.dart';
import 'package:flutter/material.dart';
import 'package:module_food/module_food.dart';
import 'package:module_shopping/module_shopping.dart';

final shoppingModule = ShoppingModule();
final foodModule = FoodModule();

@AutoRouterConfig(replaceInRouteName: Routers.replaceInRouteName)
final class AppRouter extends RootStackRouter {
  AppRouter() : super(navigatorKey: Routers.navigatorKey);

  @override
  RouteType get defaultRouteType => const RouteType.adaptive();

  @override
  final List<AutoRoute> routes = [
    ...shoppingModule.routes,
    ...foodModule.routes,
  ];
}

final class Routers {
  Routers._();

  static const String replaceInRouteName = 'Page|Screen,Route';
  static final navigatorKey = GlobalKey<NavigatorState>();
}
ShoppingModule
// modules/shopping/lib/module_shopping.dart

import 'package:auto_route/auto_route.dart';
import 'package:flutter/material.dart';
import 'package:module_core/module_core.dart';

import 'module_shopping.gr.dart';

export 'core/core.dart';
export 'module_shopping.gr.dart';
export 'shopping_cart_screen.dart';
export 'shopping_checkout_screen.dart';
export 'shopping_home_screen.dart';
export 'shopping_product_detail_screen.dart';
export 'shopping_product_list_screen.dart';

@AutoRouterConfig(replaceInRouteName: Routers.replaceInRouteName)
final class ShoppingModule extends RootStackRouter {
  @override
  List<AutoRoute> get routes => [
        AutoRoute(
          initial: true,
          path: ShoppingModule.shopping,
          page: ShoppingGuardRoute.page,
          children: [
            AutoRoute(
              initial: true,
              path: ShoppingModule.home,
              page: ShoppingHomeRoute.page,
            ),
            AutoRoute(
              path: ShoppingModule.productList,
              page: ShoppingProductListRoute.page,
            ),
            AutoRoute(
              path: ShoppingModule.productDetail,
              page: ShoppingProductDetailRoute.page,
            ),
            AutoRoute(
              path: ShoppingModule.cart,
              page: ShoppingCartRoute.page,
            ),
            AutoRoute(
              path: ShoppingModule.checkout,
              page: ShoppingCheckoutRoute.page,
            ),
          ],
        ),
      ];

  static const String shopping = '/shopping';
  static const String home = 'shopping-home';
  static const String productList = 'shopping-product-list';
  static const String productDetail = 'shopping-product-detail';
  static const String cart = 'shopping-cart';
  static const String checkout = 'shopping-checkout';

  static final routerKey = GlobalKey<AutoRouterState>();
}
ShoppingGuardScreen
// modules/shopping/lib/shopping_guard_screen.dart

import 'package:auto_route/auto_route.dart';
import 'package:flutter/material.dart';
import 'package:module_shopping/module_shopping.dart';

@RoutePage()
final class ShoppingGuardScreen extends StatelessWidget {
  const ShoppingGuardScreen({super.key});

  @override
  Widget build(BuildContext context) {
    return AutoRouter(key: ShoppingModule.routerKey);
  }
}
FoodModule
// modules/food/lib/module_food.dart

import 'package:auto_route/auto_route.dart';
import 'package:flutter/material.dart';
import 'package:module_core/module_core.dart';

import 'module_food.gr.dart';

export 'core/core.dart';
export 'food_home_screen.dart';
export 'food_order_tracking_screen.dart';
export 'food_restaurant_list_screen.dart';
export 'module_food.gr.dart';

@AutoRouterConfig(replaceInRouteName: Routers.replaceInRouteName)
final class FoodModule extends RootStackRouter {
  @override
  List<AutoRoute> get routes => [
        AutoRoute(
          path: FoodModule.food,
          page: FoodGuardRoute.page,
          children: [
            AutoRoute(
              initial: true,
              path: FoodModule.home,
              page: FoodHomeRoute.page,
            ),
            AutoRoute(
              path: FoodModule.restaurantList,
              page: FoodRestaurantListRoute.page,
            ),
            AutoRoute(
              path: FoodModule.orderTracking,
              page: FoodOrderTrackingRoute.page,
            ),
          ],
        ),
      ];

  static const String food = '/food';
  static const String home = 'food-home';
  static const String restaurantList = 'food-restaurant-list';
  static const String orderTracking = 'food-order-tracking';

  static final routerKey = GlobalKey<AutoRouterState>();
}
FoodGuardScreen
// modules/food/lib/food_guard_screen.dart

import 'package:auto_route/auto_route.dart';
import 'package:flutter/material.dart';
import 'package:module_food/module_food.dart';

@RoutePage()
final class FoodGuardScreen extends StatelessWidget {
  const FoodGuardScreen({super.key});

  @override
  Widget build(BuildContext context) {
    return AutoRouter(key: FoodModule.routerKey);
  }
}ShoppingGuardScreenandFoodGuardScreenserve as the main container within a module.- Since
AutoRouteris used inside, the navigations withinShoppingModuleandFoodModuletake place here. - This way, the routes within
ShoppingModuleandFoodModulecan function separately, without being dependent on the global application router. - In these guard pages, only module-specific Provider or Cubit structures can be created, allowing independent management mechanisms that concern only that module to be established.
I have similarly created the other pages as well. After all pages are prepared, we need to run the following command in each module’s terminal to generate the routes.
flutter pub run build_runner build --delete-conflicting-outputs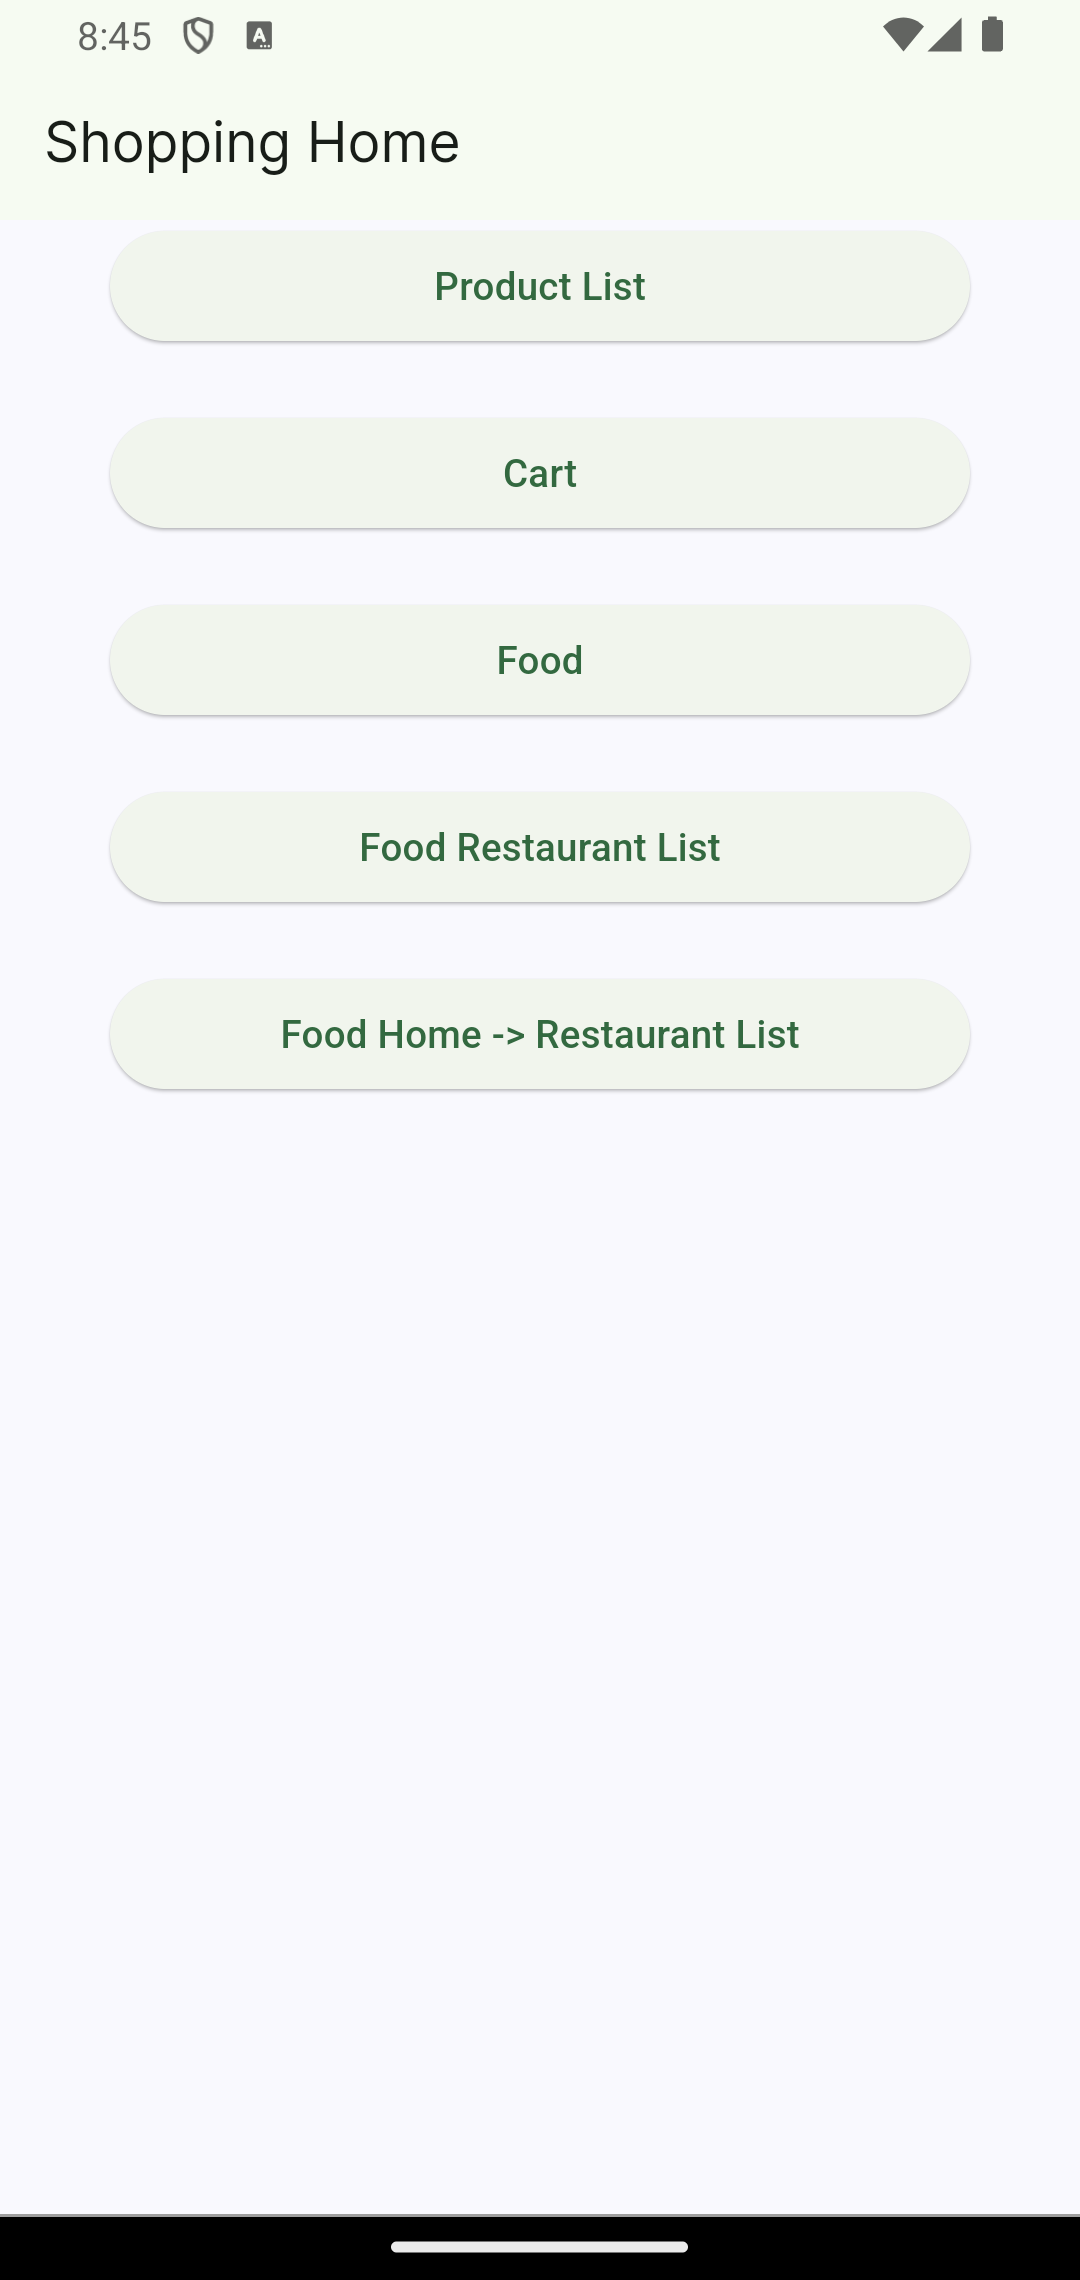
// modules/shopping/lib/shopping_home_screen.dart

import 'package:auto_route/auto_route.dart';
import 'package:flutter/material.dart';
import 'package:module_food/module_food.dart';
import 'package:module_shopping/module_shopping.dart';

@RoutePage()
final class ShoppingHomeScreen extends StatelessWidget {
  const ShoppingHomeScreen({super.key});

  @override
  Widget build(BuildContext context) {
    return Scaffold(
      appBar: _buildAppBar(),
      body: _buildBody(context),
    );
  }

  PreferredSizeWidget _buildAppBar() {
    return AppBar(
      title: const Text('Shopping Home'),
    );
  }

  Widget _buildBody(BuildContext context) {
    return Padding(
      padding: const EdgeInsets.symmetric(horizontal: 40),
      child: Column(
        crossAxisAlignment: CrossAxisAlignment.stretch,
        children: [
          // 📍 Navigation: ShoppingHomeRoute → ShoppingProductListRoute (with context)
          ElevatedButton(
            onPressed: () => context.router.push(const ShoppingProductListRoute()),
            child: const Text('Product List'),
          ),

          //
          _buildVerticalSpacer(),

          // 📍 Navigation: ShoppingHomeRoute → ShoppingCartRoute (with routerKey)
          ElevatedButton(
            onPressed: () => ShoppingModule.routerKey.currentState?.controller?.push(const ShoppingCartRoute()),
            child: const Text('Cart'),
          ),

          //
          _buildVerticalSpacer(),

          // 📍 Navigation: ShoppingHomeRoute → FoodGuardRoute -> FoodHomeRoute
          ElevatedButton(
            onPressed: () => context.router.push(const FoodGuardRoute()),
            child: const Text('Food'),
          ),

          //
          _buildVerticalSpacer(),

          // 📍 Navigation: ShoppingHomeRoute → FoodGuardRoute -> FoodRestaurantListRoute
          ElevatedButton(
            onPressed: () => context.router.push(const FoodGuardRoute(children: [FoodRestaurantListRoute()])),
            child: const Text('Food Restaurant List'),
          ),

          //
          _buildVerticalSpacer(),

          // 📍 Navigation: ShoppingHomeRoute → FoodGuardRoute -> FoodHomeRoute -> FoodRestaurantListRoute
          ElevatedButton(
            onPressed: () => context.router.push(const FoodGuardRoute(children: [FoodHomeRoute(), FoodRestaurantListRoute()])),
            child: const Text('Food Home -> Restaurant List'),
          ),
        ],
      ),
    );
  }

  Widget _buildVerticalSpacer() => const SizedBox(height: 20);
}- You can manage navigation operations either using
contextorrouterKey. - When
FoodGuardRouteis opened,FoodHomeRoute, which is set as initial: true, is automatically loaded. - If you want to open a different page instead of the initial page within a module, you can use the children property.
// modules/food/lib/food_restaurant_list_screen.dart

import 'package:auto_route/auto_route.dart';
import 'package:flutter/material.dart';
import 'package:module_core/module_core.dart';

@RoutePage()
final class FoodRestaurantListScreen extends StatelessWidget {
  const FoodRestaurantListScreen({super.key});

  @override
  Widget build(BuildContext context) {
    return Scaffold(
      appBar: _buildAppBar(),
      body: _buildBody(context),
    );
  }

  PreferredSizeWidget _buildAppBar() {
    return AppBar(
      leading: const AutoLeadingButton(),
      title: const Text('Food RestaurantList'),
    );
  }

  Widget _buildBody(BuildContext context) {
    return Padding(
      padding: const EdgeInsets.symmetric(horizontal: 40),
      child: Column(
        crossAxisAlignment: CrossAxisAlignment.stretch,
        children: [
          // Closes the current food module by popping the parent route using auto_route
          ElevatedButton(
            onPressed: () => context.router.parent()?.maybePop(),
            child: const Text('Close Food Module'),
          ),

          //
          _buildVerticalSpacer(),

          // Closes the current food module by popping all routes until reaching the first route in the navigation stack
          ElevatedButton(
            onPressed: () => Routers.navigatorKey.currentState?.popUntil((route) => route.isFirst),
            child: const Text('Close Food Module'),
          ),

          //
          _buildVerticalSpacer(),

          // Closes the current food module by popping all routes until reaching the ShoppingGuardRoute
          ElevatedButton(
            onPressed: () => Routers.navigatorKey.currentState?.popUntil((route) => route.settings.name == 'ShoppingGuardRoute'),
            child: const Text('Close Food Module'),
          ),
        ],
      ),
    );
  }

  Widget _buildVerticalSpacer() => const SizedBox(height: 20);
}- You can use context.router.maybePop() to navigate back from a page.
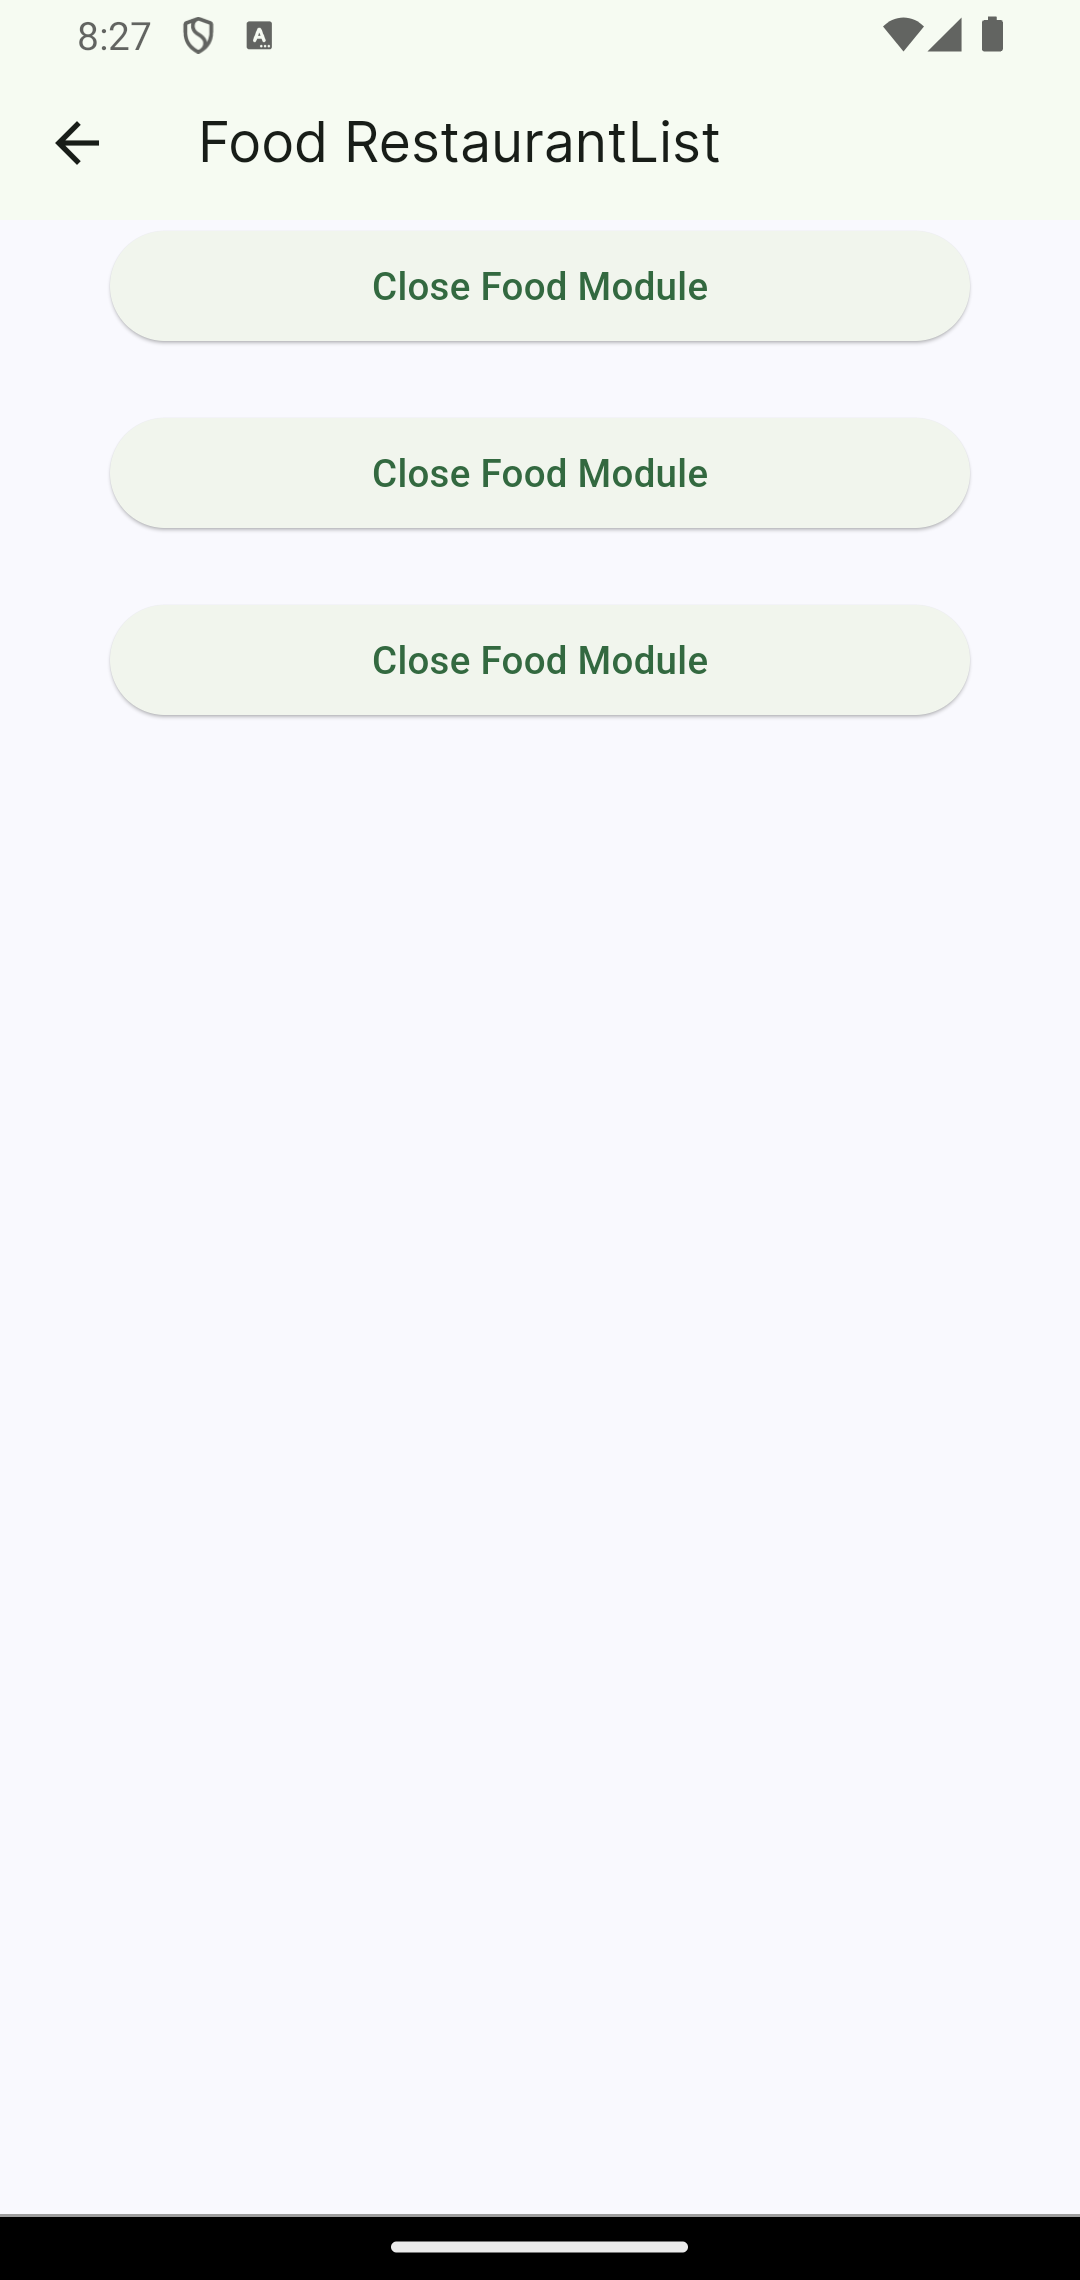
- If you want to completely close the module that the page belongs to (e.g., FoodModule), you should use context.router.parent()?.maybePop().
- Similarly, you can use Routers.navigatorKey to apply two different popUntil approaches to close the module.